


This post is sponsored by Minwax. All opinions are my own. Before we begin, be sure to join Minwax’s email list for the best staining tips and project inspiration.
As you browse through the stain aisles and see all of the different colored stain cans and various stain lines, you might find yourself wondering “what’s the difference and when should I choose each finishing option?”

When you go to pick out your stain color, the options go way beyond just choosing your favorite color. In this post, we’re breaking down different types of stains and protective finishes and when you might choose each one.
Before we begin though, I want to say that there is no single right answer. Which one you choose will depend on what benefits are important to you and the color that you’re going for. If a non-yellowing finish is important to you – we’ve got you. We’re sharing that in the “Choosing a Protective Finish” section!
This article is meant to be informative so that you can feel confident in your stain choice and the reason for choosing a particular stain, but don’t overthink it. Your project can turn out amazing no matter which of the stain lines you choose! If there’s an instance where there truly is a “correct” stain to use, we’ll tell you in this post.
In this post we’re going to break down the following:
- Water vs. Oil-Based Stains
- Semi-Transparent vs. Solid Stains
- When to Use Each Stain Line
- Choosing a Pre-Stain Wood Conditioner
- Choosing a Protective Finish
Let’s start with the first choice: water or oil-based stains?
Water-Based vs. Oil-Based Stains
Water and oil-based stains both come in a variety of color options and are great for indoor projects.
Oil-Based Stains
Oil-based stains deeply penetrate the wood for a rich, even finish. Oil-based stains are easier to work with on larger surfaces because they avoid lapping. They generally have a slightly longer dry time than water-based stains.
They do require mineral spirits for clean up – if you try to clean a brush that you used for an oil-based finish with just water, it might feel fine initially, but when the brush dries, it will harden and become incredibly stiff. Mineral spirits will keep your brushes from oil-based projects in working condition.
Water-Based Stains

Water-based stains on the other hand have faster dry times, low odor, and easy soap and water cleanup.
The faster dry times can be both a pro and con. It’s a pro because you can complete your project faster, but since water-based stains start drying within a couple of minutes of application, they do require you to work quickly to avoid lap marks.
Water-based stains also come in both solid and semi-transparent opacities, which we will talk about in the next section. Oil-based stains are currently only available in semi-transparent.
Should you choose a water or oil-based stain?
If you are new to staining, oil-based stains can be more forgiving due to their longer dry times.
Also because of the longer dry times, oil-based stains are a better option for really large projects, like staining hardwood floors.
For furniture builds, both oil and water based stains can work great. If you do choose a water-based stain, you’ll want to work in sections small enough that you can wipe off all of the excess stain within 2 minutes of first applying it.
Solid vs. Semi-Transparent Stains
When you think of wood stains, you’ll likely picture a semi-transparent stain. A semi-transparent stain enhances and shows off the natural wood grain. Depending on the wood types, the grain will be either darker or lighter than the rest of the wood. For example, when staining pine, the grain is generally more yellow than the rest of the wood. When staining oak, the grain usually appears darker than the rest of the wood.
Semi-transparent stains are great for pieces that you want to highlight the wood’s texture AND grain pattern.
Solid stains offer more full-coverage color, so it’s great when you want to keep the wood’s texture, but don’t want as much contrast.

The stain sample on the left is the semi-transparent option, and the stain sample on the right is the solid option. You can see how much more consistent the grain color is with the rest of the wood in the solid stain sample. Both colors are Bay Blue. Same color – different transparencies!
Should you choose a solid or semi-transparent stain?
This decision is made for you if you do decide to use an oil-based stain since they only come in a semi-transparent option. If you are using a water-based stain, this decision is solely based on your design preference for the project.
Do you want the grain to stand out more? If yes, choose a semi-transparent stain.
Do you want the grain to blend more with the rest of the wood? If so, choose a solid stain.
Different Minwax Stain Lines – Which Should You Choose?
Minwax Wood Finish
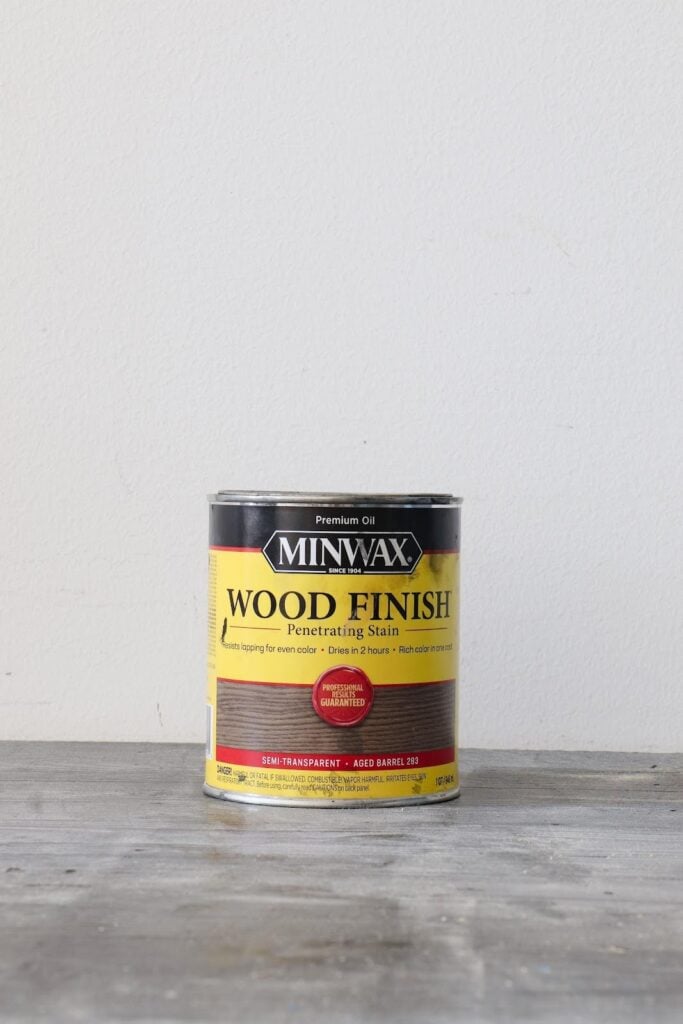
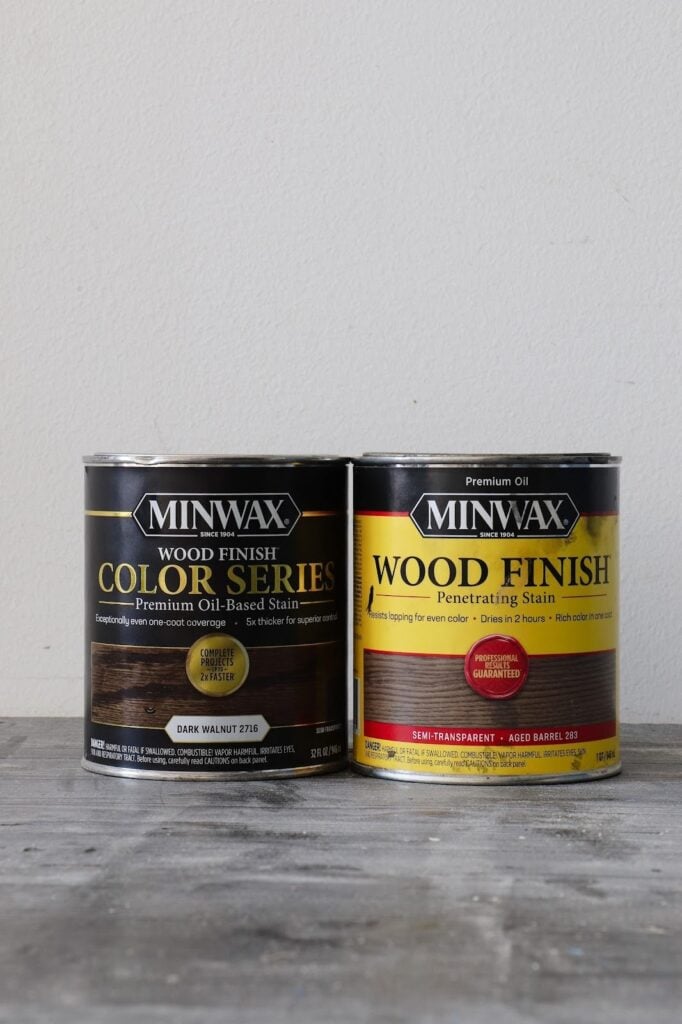
This is what you probably think of when you think of stain. This is the tried and true Minwax line that has been trusted by pros for decades. This is the stain in the yellow can.
Minwax Wood Finish is an oil-based stain that comes in 35 different colors. You’ll get these colors straight off of the shelf at a store like Lowe’s or Ace.
Minwax Wood Finish Color Series
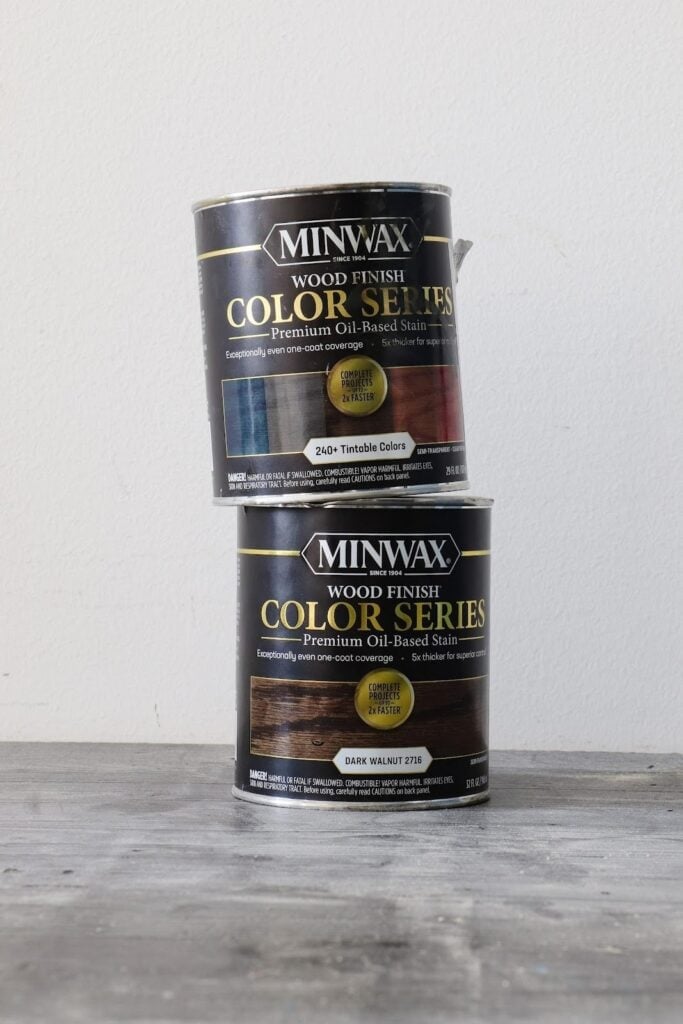
This is a newer, even more premium Minwax line that is similar to the original Wood Finish line. It’s an oil-based finish with over 240 shades available. They sell some pre-tinted color options as well as a tintable can. If you don’t see the color you’re hoping to use in the store, you can grab the tintable can and take it over to the paint counter to get it tinted like you would with paint.
Aside from the extra color possibilities, Minwax Wood Finish Color Series also doesn’t require a pre-stain, so you can complete projects up to 2x faster when compared to the yellow can Wood Finish line.
It is also a thicker formula compared to the original Minwax Wood Finish line, allowing for even more control and spatter-resistant coverage. If you’ve never stained before, this is a great line to start with!
Minwax Wood Finish Water-Based Stains

Minwax Wood Finish Water-Based Stains offer you the maximum amount of color possibilities because it comes in both solid transparency and semi-transparent options, in addition to being able to be tinted to over 240+ colors at the paint counter.
Since this line is water-based, it offers easy cleanup with soap and water and fast dry times.
The dark blue can is a solid transparency and the light blue can is semi-transparent.
When you go to pick out these cans, you may notice that in addition to the solid and semi-transparent options, there are also two tint bases: pure white and clear. Don’t worry too much about this. When you go to get it tinted at the paint counter, the paint mixer will be sure to grab the correct tint base for you!
Minwax Gel Stain
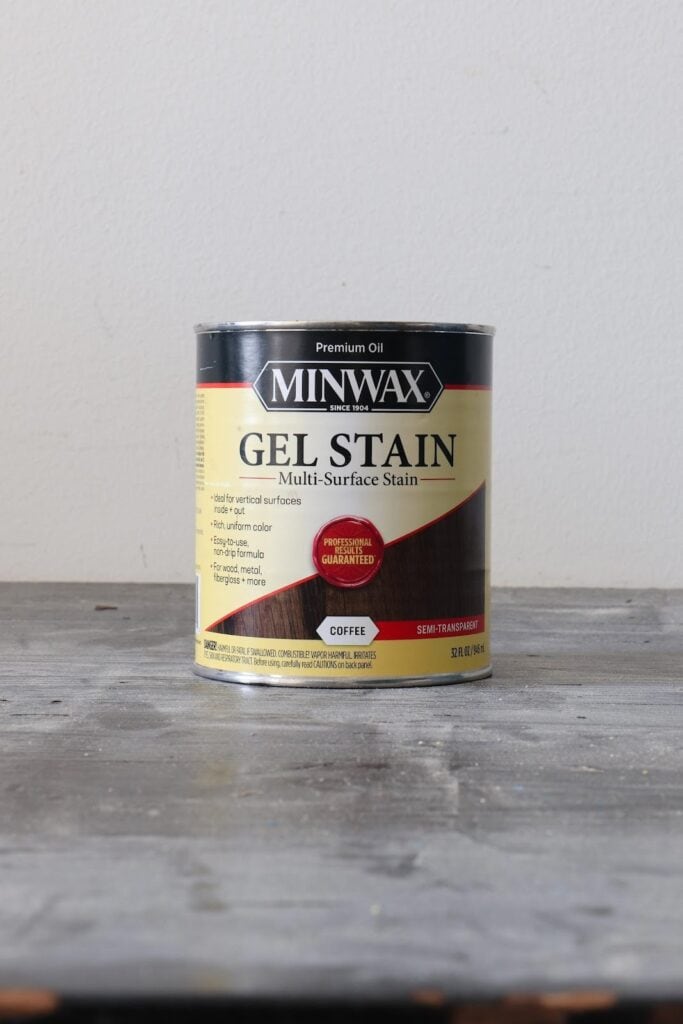
Minwax Gel Stain is an oil-based stain that can be used on both wood and on surfaces like metal and fiberglass. It’s thick and has a non-drip formula, making it great for vertical surfaces as well.
It’s ideal for doors, non-wood projects, and we also love using it on softwoods like pine for a more consistent stain finish.
Minwax Polyshades

Minwax Polyshades is an oil-based finish that combines stain and polyurethane in a single step. You can also use it over existing finishes, making it a great option if you want to do a furniture flip without stripping a piece all the way back to the raw wood.
So what line should you choose?
For the most part, you can’t go wrong. Pick the finish that fits your preference for water vs. oil-based stains and has the color options you’re looking for.
There are a few times though when there is a “correct” choice on which stain line to use.
For hardwood floors, use Minwax Oil-Based Wood Finish or Minwax Wood Finish Color Series.
For surfaces that aren’t wood, use Minwax Gel Stain.
For projects that you don’t want to strip down to raw wood, use Minwax Polyshades or Minwax Gel Stain. If you choose a different line, the existing uneven wood coloring will show the stain.
Choosing a Pre-Stain Wood Conditioner
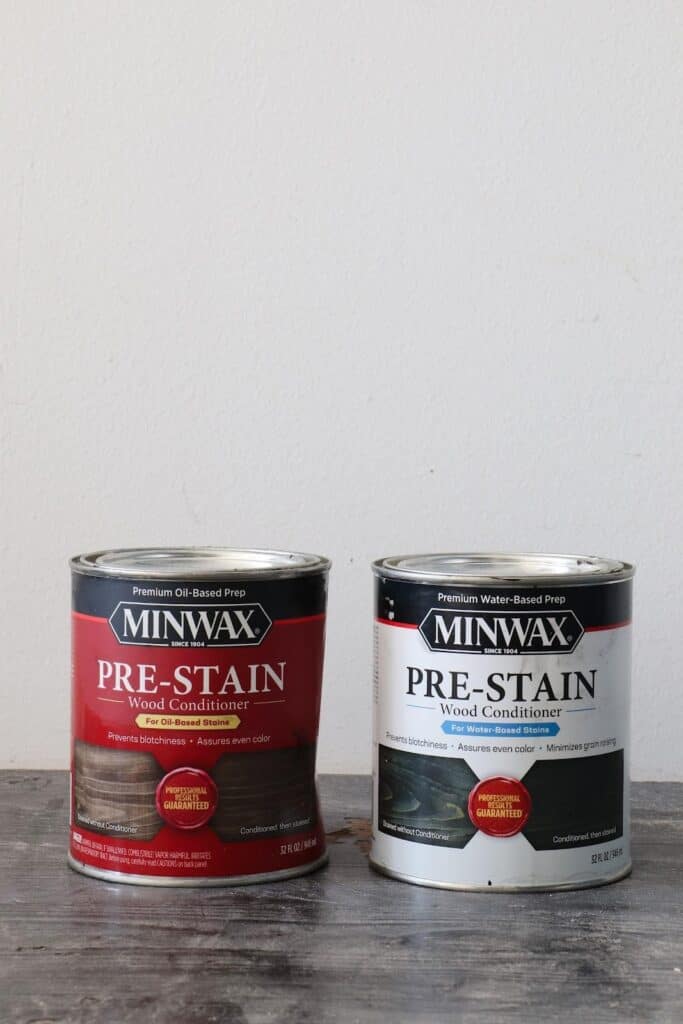
When it comes to choosing a pre-stain wood conditioner, the answer is simple. Match the pre-stain to your stain type: water to water, oil to oil.
So for oil-based finishes, choose Minwax Pre-Stain Wood Conditioner – the one in the red can.
For Minwax Wood Finish Water-Based Stains, choose Minwax Water-Based Pre-Stain Wood Conditioner.
Earlier I mentioned that the Minwax Wood Finish Color Series doesn’t require a pre-stain. That’s true, but it’s still recommended for softwoods like pine that are notoriously splotchy when stained. Since that one is an oil-based finish, you would use the red can Minwax Pre-Stain Wood Conditioner.
Choosing a Protective Finish
When it came to choosing a pre-stain, you chose the pre-stain to match the base of the stain (oil to oil, water to water). When it comes to a protective finish, you don’t need to do that. You can choose a water-based finish even for an oil-based stain. In fact, that’s what I almost always do!
Minwax Polycrylic MAX
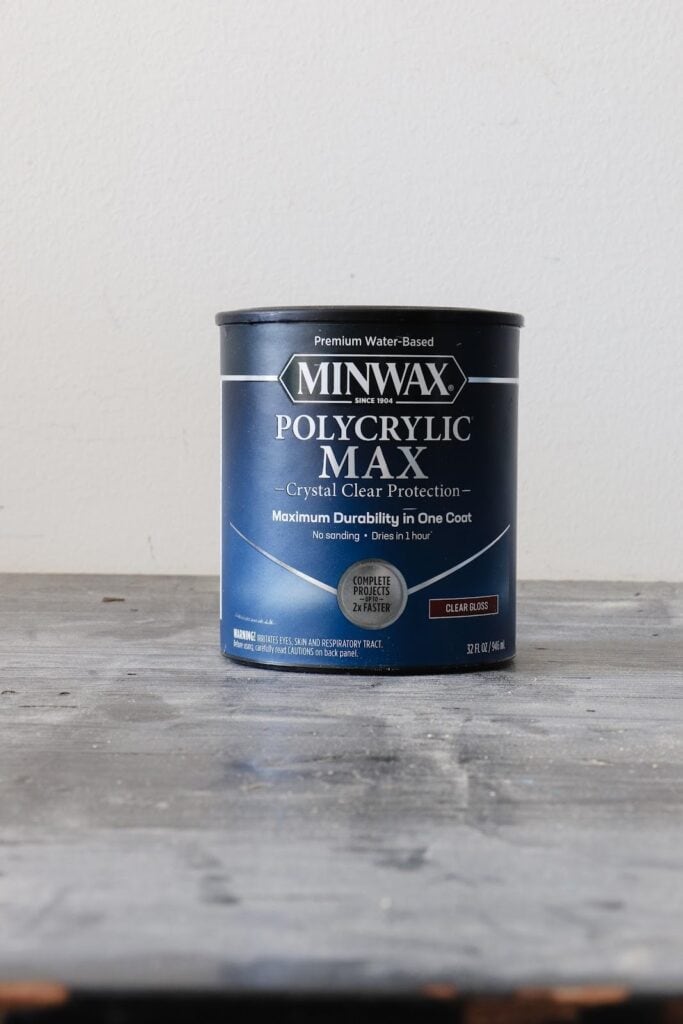
Our go-to protective finish is Minwax Polycrylic Max. It dries in one hour and only requires one coat, allowing you to finish your projects even faster. It comes in ultra flat, satin, semi-gloss, and gloss sheens. Minwax Polycrylic Max is a water-based finish, so it has easy soap and water cleanup and low odor. It also dries clear.
Minwax Polycrylic
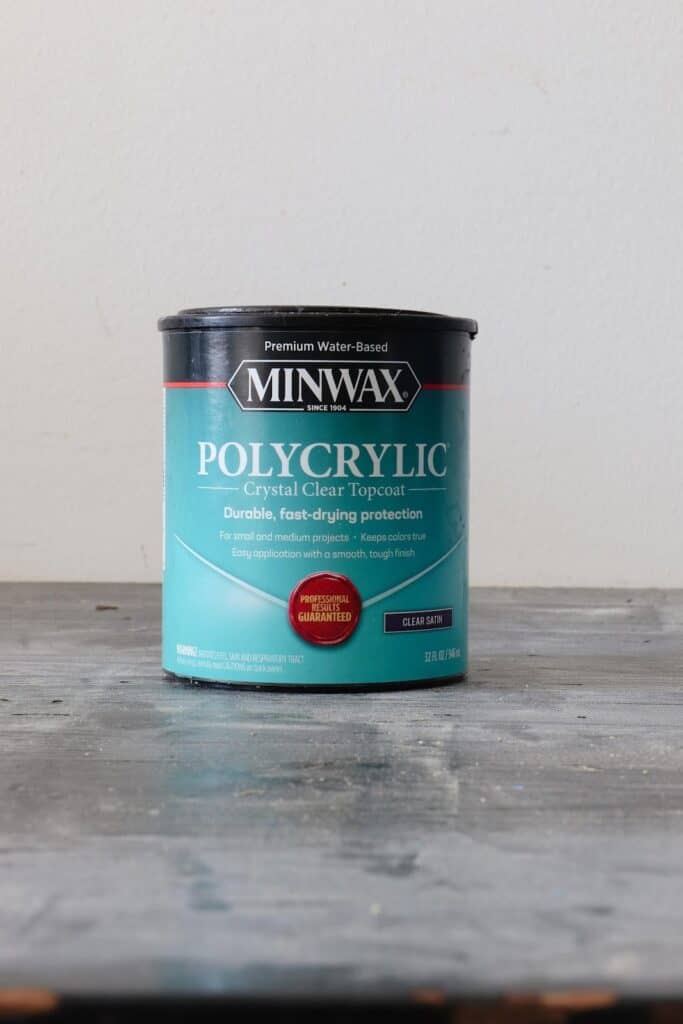
Minwax Polycrylic is the original water-based protective finish from Minwax. It’s great as well and offers you clear, non-yellowing protection. In addition to all of the sheens that the Max line comes in, Polycrylic also comes matte as well if you’re looking for a sheen between ultra flat and satin.
Minwax Fast-Drying Polyurethane
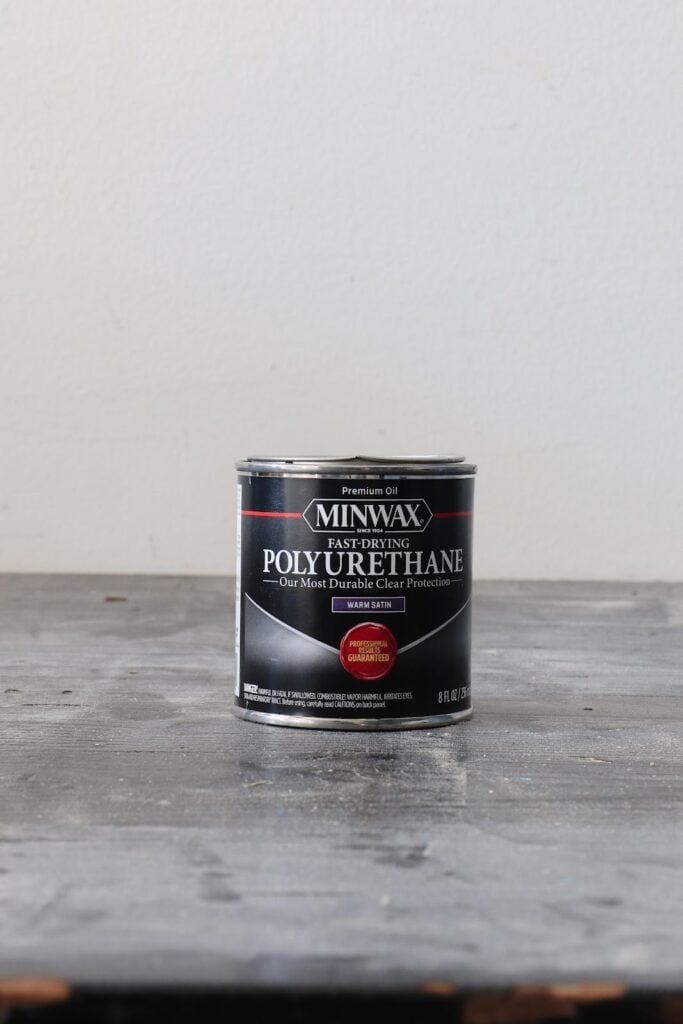
If you’re looking for that warm, amber tone in your finish, Minwax Fast-Drying Polyurethane is the protective finish for you. It’s an oil-based finish that offers ultimate durability. It comes in ultra flat, stain, semi-gloss, and gloss sheens.
I mentioned the color already, but I want to make sure it’s not missed. If you do NOT want to alter the color of your project and do NOT want to add a little more yellow or amber tone, you’ll want to choose one of the Polycrylic options instead of this polyurethane.
This polyurethane WILL add an amber tone to your project!
That’s not bad. In fact, sometimes I specifically choose this finish so that I can add more warmth and depth to my finish, but if you’re looking for a crystal-clear finish, Minwax Fast-Drying Polyurethane is not the finish for you. If you put it over a crisp white table, you’re probably going to be disappointed.

In the image above, you can see how the different protective finishes impact the color of the natural wood.
Which Stain Should You Choose Summary
Now that we’ve covered the different types of finishes, let’s do a quick recap. Stains and wood finishes come in both oil and water-based finishes. Water-based finishes are faster drying, low odor, and offer easy soap and water cleanup. Oil-based finishes are a bit more forgiving for beginners because of the longer dry times.
Water-based finishes come in both semi-transparent and solid opacities, meaning you can decide how much you want the grain to stand out. If you choose a solid opacity, you’ll still maintain the texture of the wood, but the color of the grain will be more consistent with the rest of the wood.
When it comes to choosing a specific stain for your project, for the most part it just comes down to personal preference and the look you’re trying to achieve. Minwax has a variety of different stain lines to help you achieve the finish you’re looking for.
Once you choose a stain line, you can choose the appropriate pre-stain: oil-based finishes use an oil-based pre-stain, and water-based finishes use a water-based pre-stain.
Finally, you’ll want to finish your project with a protective top coat. Minwax Polycrylic and Minwax Polycrylic MAX will give you a clear finish, while Minwax Fast-Drying Polyurethane will give you a warm, amber tone to your project.
Now that you understand the different wood stains and finishes, it’s time to head to the store and pick out your supplies for your next project! Be sure to send in photos of your finished project – I can’t wait to see them!
If you’d like more tips to get the best stain finish possible, be sure to join the free Minwax community! You’ll also get some awesome project inspiration that you won’t want to miss. You can join for free HERE.


")


