


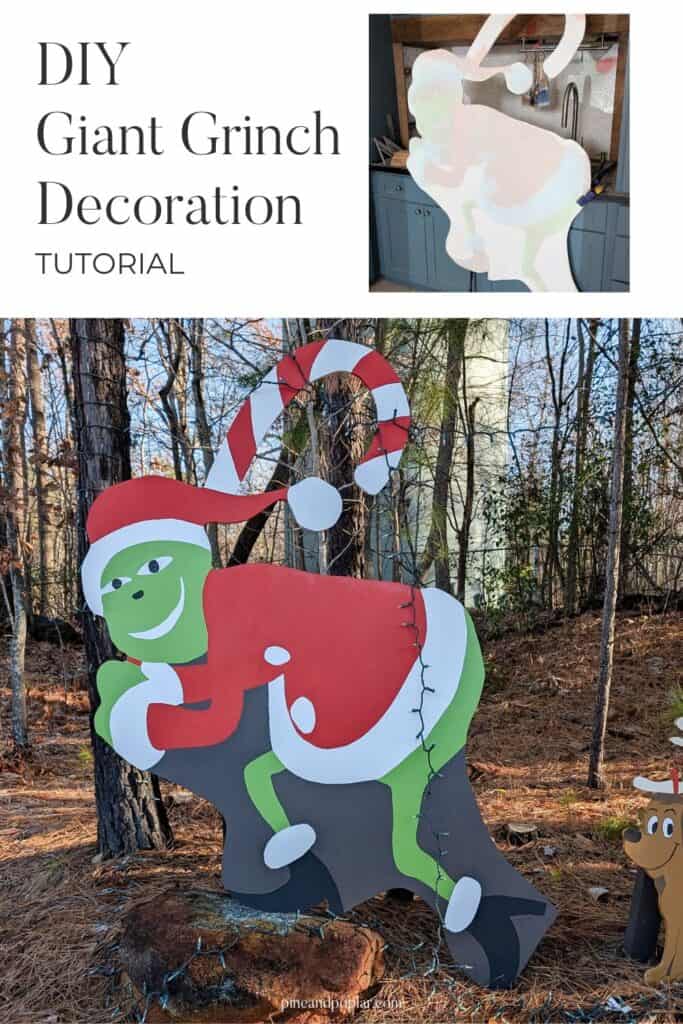
Whether you just love the Grinch or maybe you just want to be festive, but don’t want to spend hours stringing up lights, this DIY Grinch decoration is for you! This DIY Grinch (and Max) can be made from a single sheet of plywood and a 2×4.
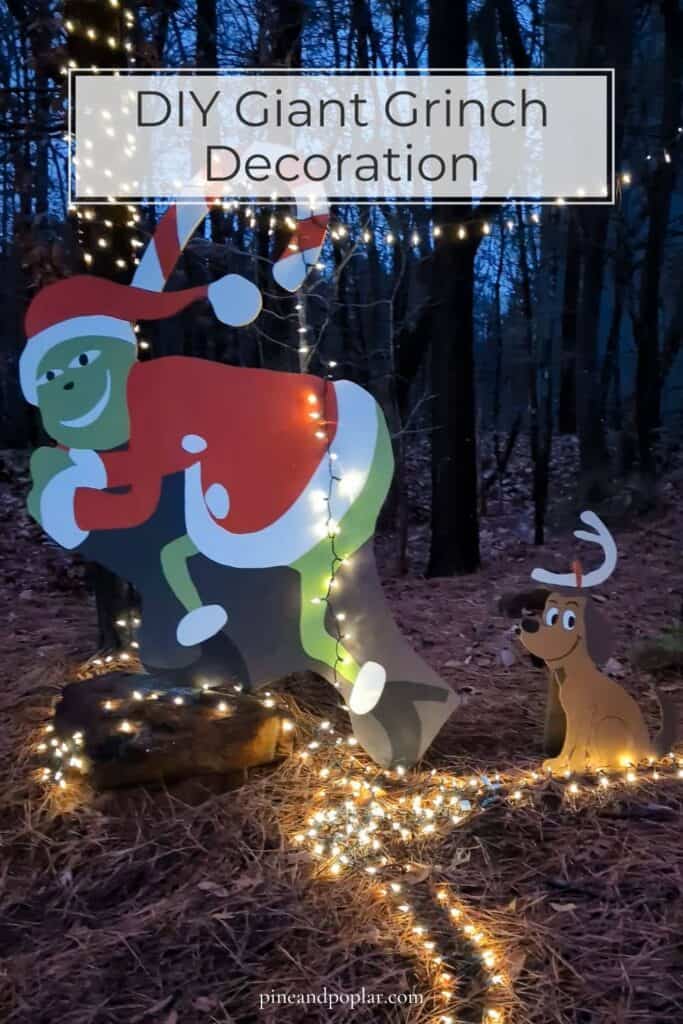
The beauty of the design is that the Grinch is doing what he’s known for – stealing Christmas! So, you can start to put up a single strand of lights and then have the Grinch taking them down with his candy cane. You get to be festive, but without spending hours and hours stringing lights.
Alright, let’s dive in and start DIYing!
How to Build a DIY Grinch Decoration
This post contains affiliate links for your convenience (which means if you make a purchase after clicking a link, I earn a teeny-tiny commission, but it won’t cost you a penny more)! Click here to read our full disclosure.
Recommended Tools:
- Jigsaw
- Drill
- Projector or google options for using your phone as a projector
- Sharpie or pencil
- Safety Equipment
Shopping List:
- (1) sheet of ½”x4x8 pressure treated plywood sheathing
- (1) 2x4x8
- (3) 4” exterior door hinges
- ½” exterior screws
- 1 ¼” exterior screws
- Exterior Latex Wood Primer
- Exterior paint – head to step 3 to see the exact colors we used.
Before we begin, I just want to call-out that we are using pressure treated wood. You want to use pressure-treated plywood since this Grinch will be outside and pressure-treated wood allows wood to stand up to the elements.
That said, pressure treated wood is treated with a lot of harsh chemicals, so you want to make sure that you are wearing gloves when working with it and be sure to have all of your proper PPE to protect your lungs, eyes, and skin from the wood.
STEP 1: TRACE YOUR GRINCH
Open the traceable Grinch file HERE. Please note that this was the file that I used personally, so it’s not perfect. I’m just sharing to help you make your Grinch easier, but I didn’t spend tens of hours designing it to match the standards I would normally have to share with others! I also don’t own any copyrights or anything like that, so know this is for PERSONAL use only. You cannot use this file to create anything that you will sell.
Project the file onto your plywood, filling up as much of the plywood as possible.

Using a pencil or Sharpie, trace the file. If you want to only project your design once, we recommend using a Sharpie to trace the design and all of the details that you will want to paint. If you use a black sharpie, it should bleed through your primer a little bit so that you can just trace the design once.
We started by tracing just the outside and then projecting the design again once it was cut, but it was difficult to line up again. If I were to make this Grinch again, I would just trace it all up front.
STEP 2: CUT
For the Grinch, we wanted to make sure that we had plenty of area to hide support boards behind him and also enough plywood to feel sturdy and not flimsy, especially around his thin little legs.
Before cutting, we sketched out a line to follow that was offset from his lower half a bit. I included this as the red line in the Canva file, but feel free to make adjustments to that line. I added that line to Canva after we cut ours out, so it’s not the exact line we followed. It’s just there to give you a guide.
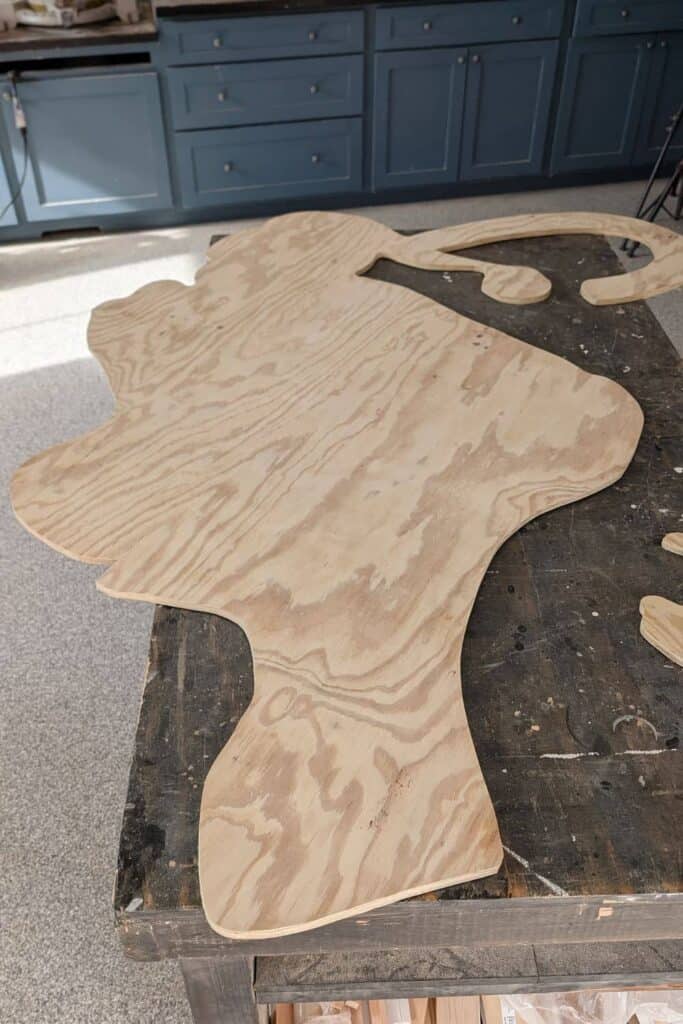
Using a jigsaw, cut out the Grinch and Max.
STEP 3: PREP FOR PAINT
Before priming, we filled some of the big imperfections in the plywood with exterior wood filler. After seeing the final Grinch, I’m not sure this step was worth the time since he’s still not smooth anyway, but I thought I would include it in case you want to try it.

Then we sanded everything quickly with 120 grit sandpaper. This plywood sheathing is always pretty rough, so sanding does make a big difference. It won’t be smooth, but it’ll be much smoother than it was.
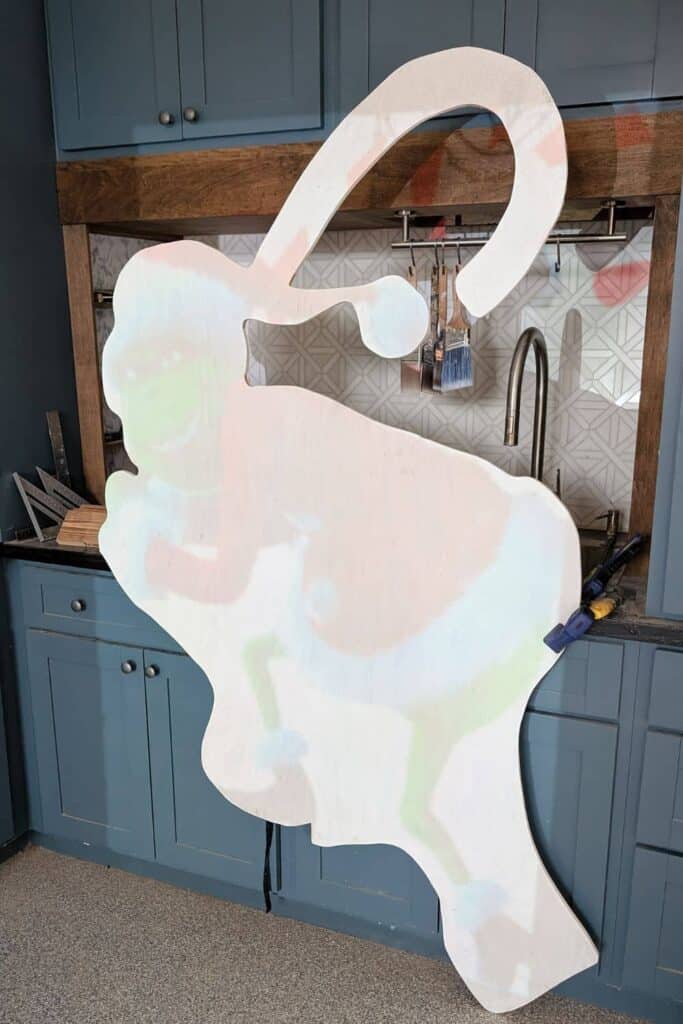
We primed both the front and back of the Grinch. Even though we only ended up painting 1 side, having it primed on the back side looked nicer to me than the raw plywood.
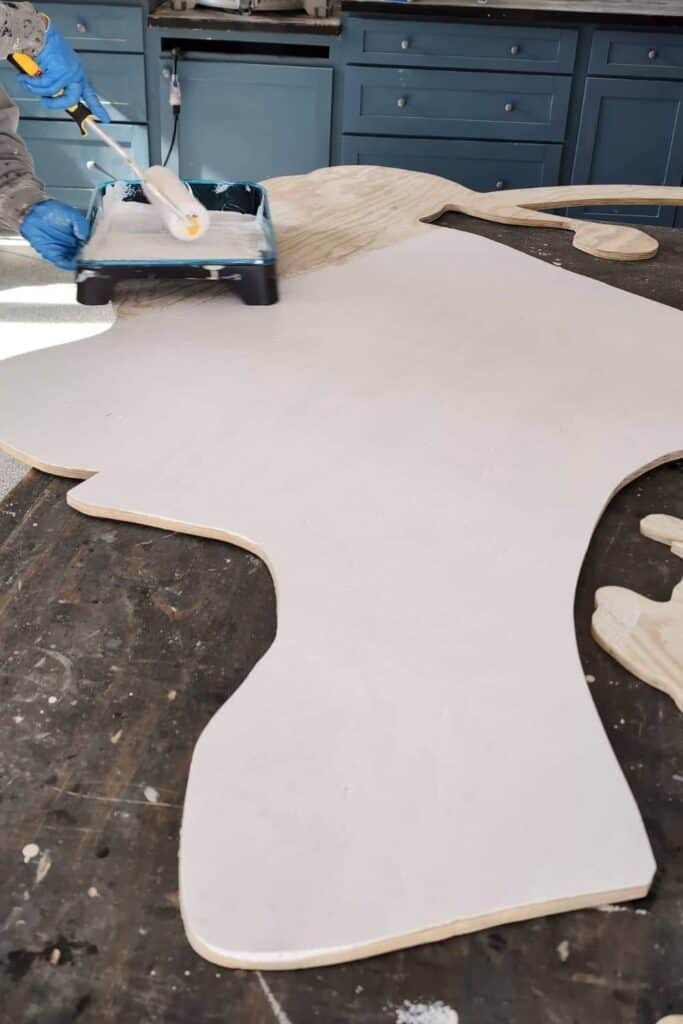
Even though most paints say that they are paint and primers in one, we still recommend priming first to cover up a lot of the ink that’s stamped onto the plywood and to give you a better base. Priming first means you should need less coats of paint!

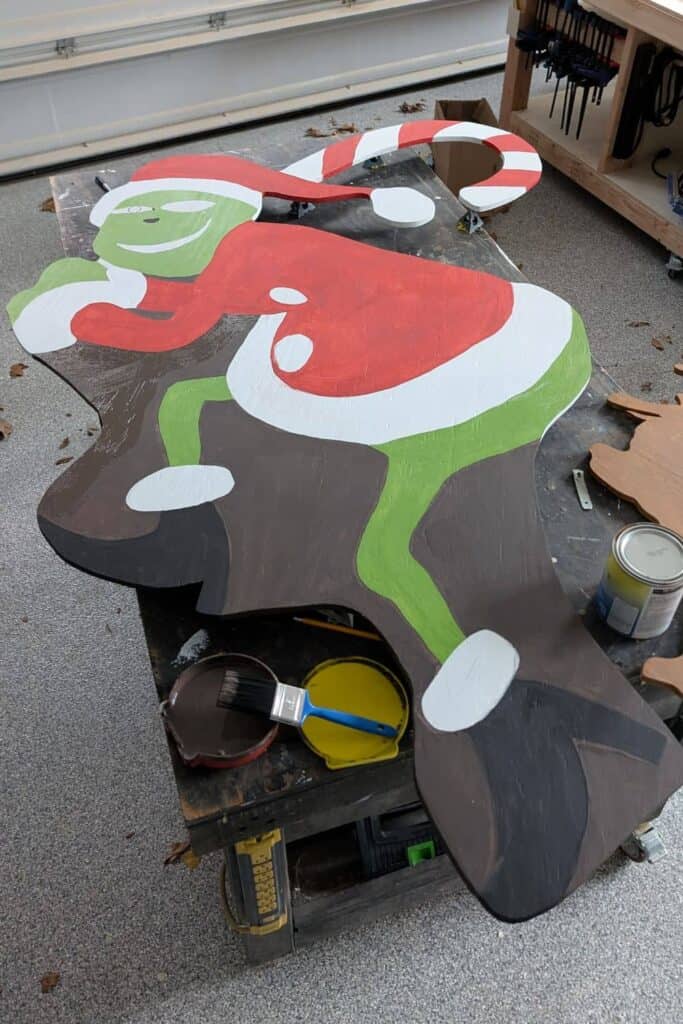
STEP 4: PAINT
If you need to, you can re-project the design again to help you outline the details.
For our colors, we bought Latitude quarts of each of the following colors from Sherwin Williams:
- Red: Tanager SW 6601
- Green: Overt Green SW 6718
- White: untinted – they just gave us the base color
- Black: Caviar SW 6990
- Max Brown: Leatherbound SW 1668
We chose matte for all of the colors. The green was only available in satin, so that one is satin. They said the red couldn’t be an exact match of the color in the quart size – I said it was fine.
If I were to make this again though, I would definitely opt for the exterior paint samples instead of the quart though. It’ll be enough for the project and will be WAY cheaper. Sure, it’s not as durable, but I think the cost-savings are probably worth it.
You might notice that I am missing a dark brown for the background of the Grinch, a dark brown for Max’s ears and tail, and a light color for his antler.
For each of these colors, I just mixed and mixed what I had until it was a color that I was happy with. I don’t have any formulas you can follow to perfectly recreate these. I was really just mixing and adding more and adjusting until I came up with colors that I liked.
For the dark brown for the background, it was a mix of Caviar, Tanager, Overt Green. It might have a little Leatherbound in it, but I can’t remember.
For Max’s ears and tail, I combined Caviar and Leatherbound. For his antler, I combined a drop of Leatherbound to some white.
In terms of order, I first painted the green, then black, then red, then the background brown, then white. In the final coat, I saved the black for last so that I could add the pupils to his eyes.

I had considered mixing a little black with the green to have a darker shade so that I could add some details to his fur and around his eyes to make a more furrowed brow look, but I did not. It might be a fun option if you want to make yours even better!
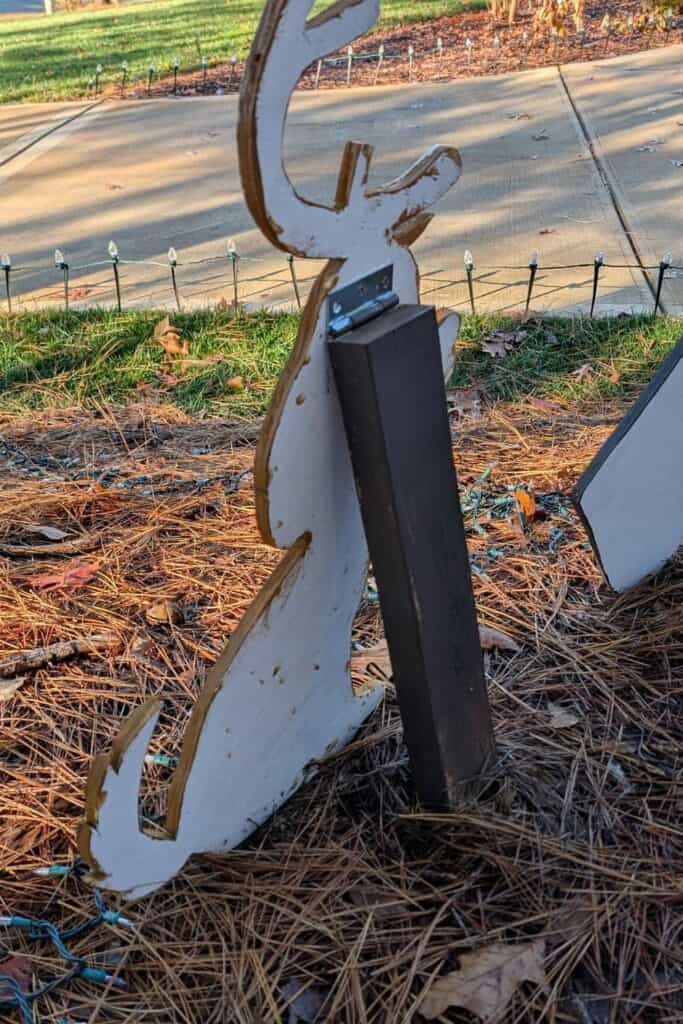
STEP 5: ADD THE 2×4 SUPPORTS
Cut your 2×4 into (2) 24” pieces and (1) 18” pieces. Cut the bottom of the 2×4 into a point so that you can stake it into the ground. The exact angle or height doesn’t matter, you just want to be able to poke it into the ground.
Once your pieces are cut, you can paint the pieces using the dark color that you mixed for the background of the Grinch cutout.
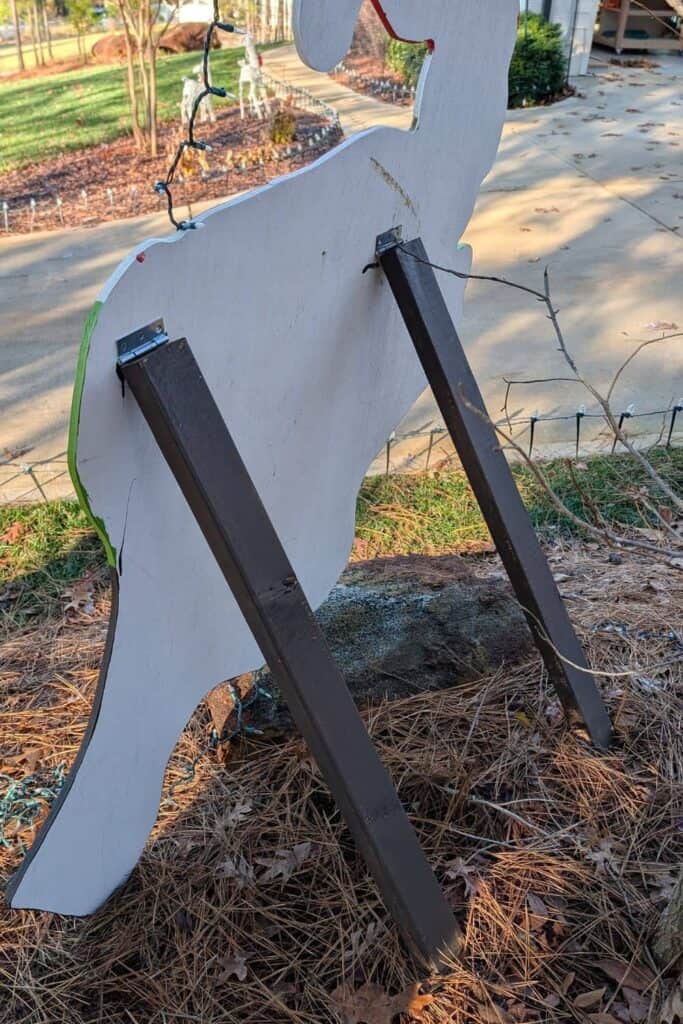
Next, you can install the hinges onto the 2x4s using the 1 ¼” screws. The pointed side of the hinges will go onto the 2x4s.
Since our ground was hard, we hammered the 2x4s into the ground where we wanted the grinch to be positioned. The longer 2x4s are for the Grinch. The shorter 2×4 is for Max.
Then we installed the hinges using the ½” screws to the back of the Grinch and Max cut outs.
There you have it! Now you know how to create your own DIY Grinch decoration for outside!
For our display, we wrapped two trees with Christmas lights and then had the Grinch “stealing” the lights from one of those two trees.

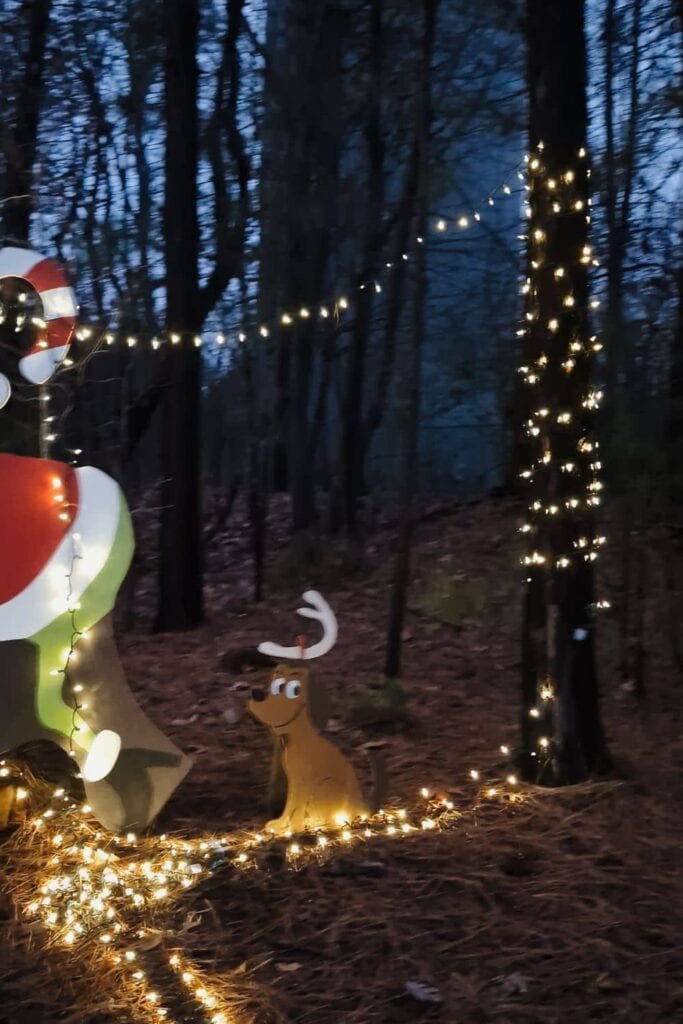
After having them out for a week, we decided that they also needed a spotlight to be more visible during the night. We got these solar powered spotlights.


")


