


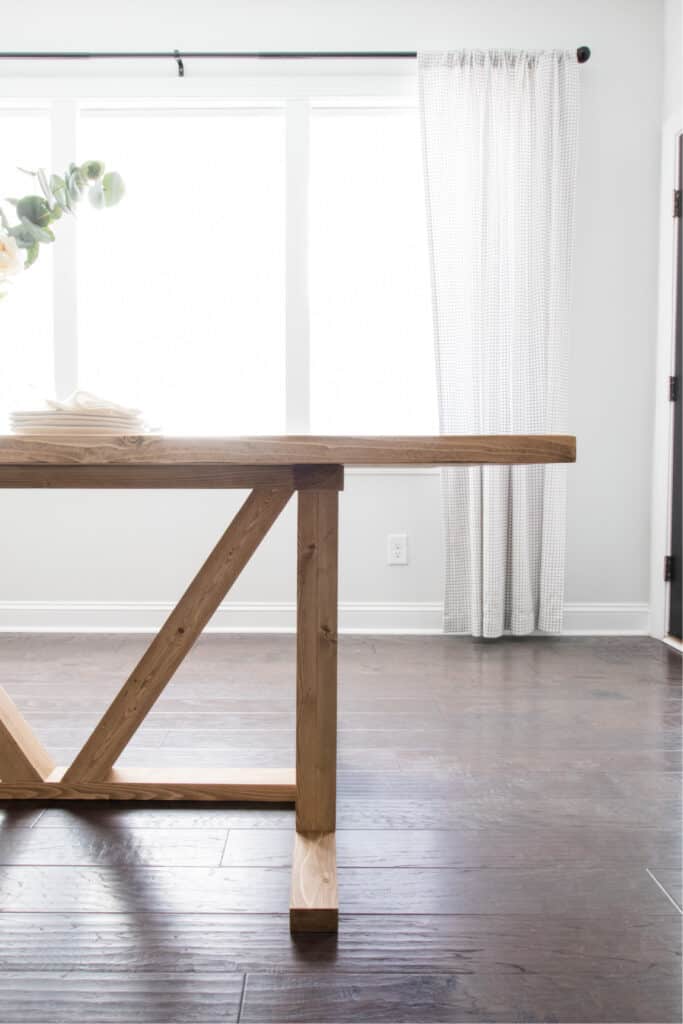
This DIY dining table was inspired by the Emory Dining Table by Studio McGee, but with a few modifications.
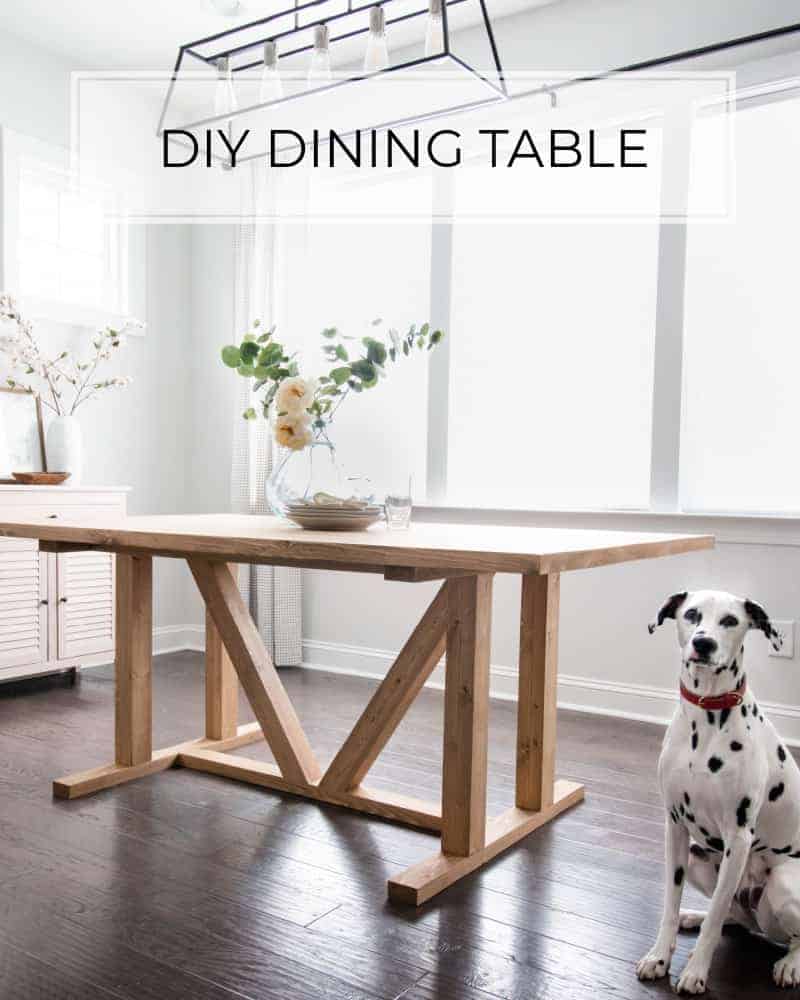
First: the size. There wasn’t room for a crazy long extension table, so we opted for 72″ long, which is a standard length for a table that comfortably fits 6 people. We also made it slightly wider than the Studio McGee table. By making it approximately 44″, there’s enough room to seat two people on each end if needed.
Overall, this table will very comfortably sit 6-8 people and can accommodate 10 people if needed.
The second modification was the building material. Yes, white oak is a beautiful choice and something we’d love to work with, but it didn’t fit into the budget. We swapped out white oak for pine to make this table very affordable.
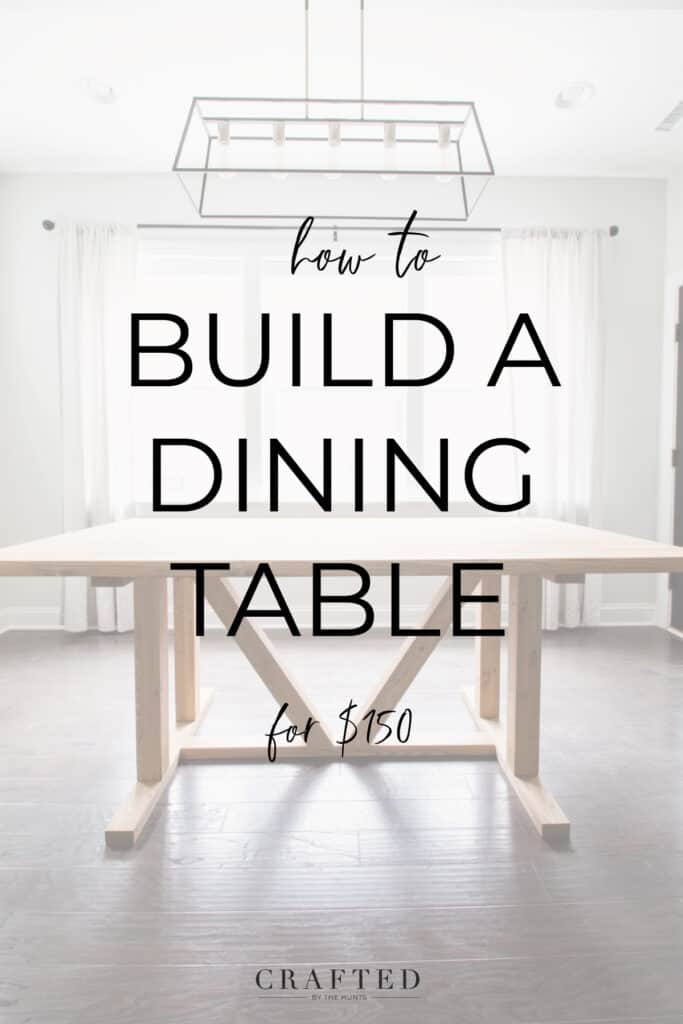
These two modifications allowed us to get a very similar look for over $3000 less than the retail price!
Alright, let’s start DIYing!
This post contains affiliate links for your convenience (which means if you make a purchase after clicking a link, I earn a teeny-tiny commission, but it won’t cost you a penny more)! Click here to read our full disclosure.
Tools
- Table Saw
- Circular Saw
- Miter Saw
- Drill
- Kreg Jig
- 13/16″ paddle bit
What You’ll Need
*if you are not using a table saw, you’ll need 8 – 2x6x8s, 4 – 2×4-8s, and 2 – 4x4x8s. You can skip step 1 of making your own 4x4s.
Prefer printable plans with 3D renderings? Grab your dining table plans HERE.

How to Make a DIY Dining Table
New to DIY? Download our free 5 Steps to Getting Start with DIY guide!
STEP 1: MAKE 4x4s
Yes, you can purchase 4x4s at the store, but many times they are a very different color than the whitewood 2x6s and 2x4s that we used on the rest of the table. Since we’re using a lighter stain and have a table saw, we decided to make our own rather than trying to figure out stain combinations that matched the 4x4s to the remaining boards.
You’ll need 4 – 2x4s to create 2 – 4x4s at this step. Apply a generous amount of wood glue to 2 of the 4 2x4s, making sure to spread the glue evenly across the entire surface of the 2×4. Place the remaining 2x4s on top of the 2x4s with the glue.
Clamp them in place and let dry overnight. Ideally, you’ll want to wait 24 hours before moving onto the next step.

STEP 2: TRIM YOUR BOARDS
Using your table saw, trim off the rounded edges of all of your lumber. The 4x4s you made and the remaining 2x4s will all be cut to be 3″ wide. The 2x6s will each be cut to 4 7/8″ wide.

STEP 3: CUT YOUR BOARDS
Cut your boards for your stretchers, top and bottom supports, and legs according to the cut list.
Note: I would recommend not cutting your angled boards just yet. I would recommend cutting them down after the rest of the table base is assembled so that you can double-check your measurements.
I would also recommend cutting your pieces for the top down to approximately 80 inches rather than 72. This will allow you plenty of room to cut off excess on both sides so that you don’t need to worry about lining up your boards perfectly when you make the table top.
Note: your table will be stronger if you use 4x4s for your stretches and top/bottom supports. We opted to stick with 2x4s to get the thinner profile that better achieved our desired look.
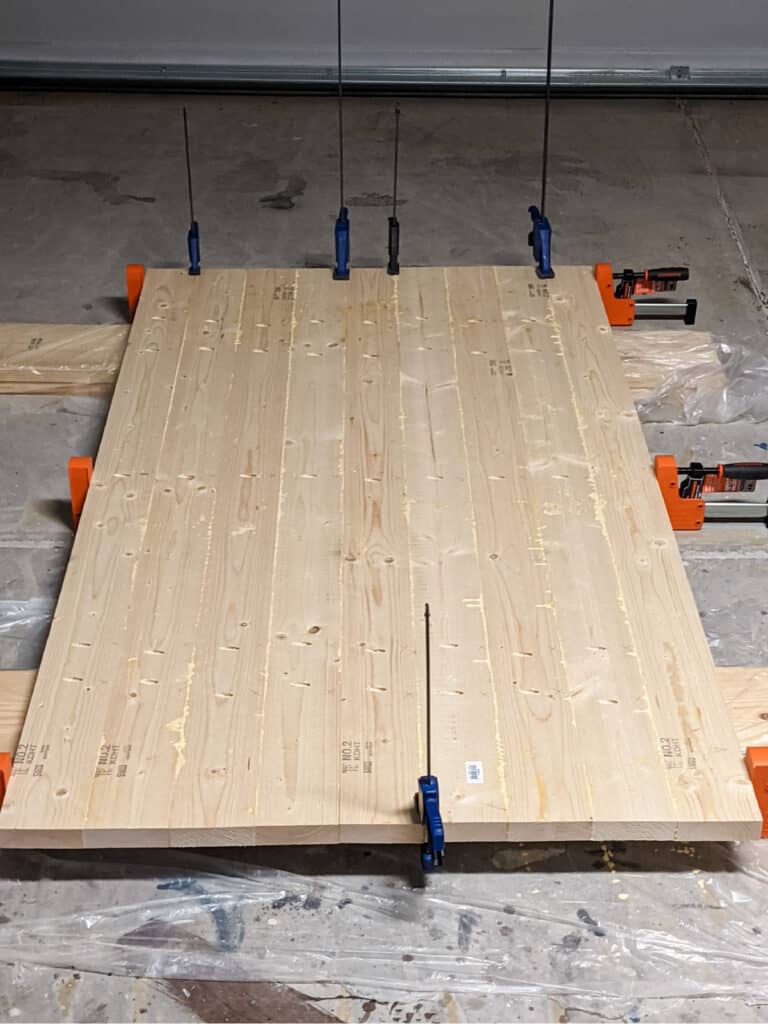
STEP 4: ASSEMBLE THE TOP
To assemble the top, we’re going to mostly rely on wood glue, but we’ll also add in a few pocket holes to help keep the boards flush while the glue dries.
Start by arranging your 9 – 2x6s how you want them. Look at the grain patterns and make sure the prettiest sides of your boards are all facing up.
Once you decide on the layout of the boards, drill 3 pocket holes on each board, one in the middle, and one on each end, placed about 15″ from the edge.
Add a generous amount of wood glue to each board and then clamp all 9 boards together. Attach your boards using 2.5″ Kreg screws, making sure the top of the table is as flush as possible.
Pocket holes are the foundation of most DIY furniture. Become a pocket hole pro in less than an hour in Pocket Holes: Explained.
P.S. We used these clamps.
Wait 24 hours to let the glue cure before sanding your table top.
STEP 5: CUT TOP
Cut your top down to 72″ using your circular saw. Cut through the wood slowly to prevent your wood from splintering. We used our Accu-Cut to get a straight line and to also prevent splintering.

STEP 6: SAND AND STAIN
Before assembling anything else, sand and stain your boards. It’s a lot easier to get everything smooth and stained evenly when you are working with individual pieces and don’t need to try to get in nooks and crannies and corners.
This is also the step that’s going to take your project from eh to WOW. Don’t rush this step. Take your time to get everything nice and smooth.

Once you’re done sanding, apply your stain. We first applied pre-stain wood conditioner and then applied one coat of Minwax Semi-Transparent Water-Based stain in Driftwood.
I’d highly recommend the water-based version when working with pine. Rather than drawing out the yellow in the pine, the water-based will give you a beautiful brown color.
Start by staining the bottom of the table top. With water-based stains, you need to apply your stain and wipe off the excess quickly or you’ll end up with uneven color because it dries so quickly.
We found it worked best to brush it on with a foam brush and immediately wipe off the excess with a rag.
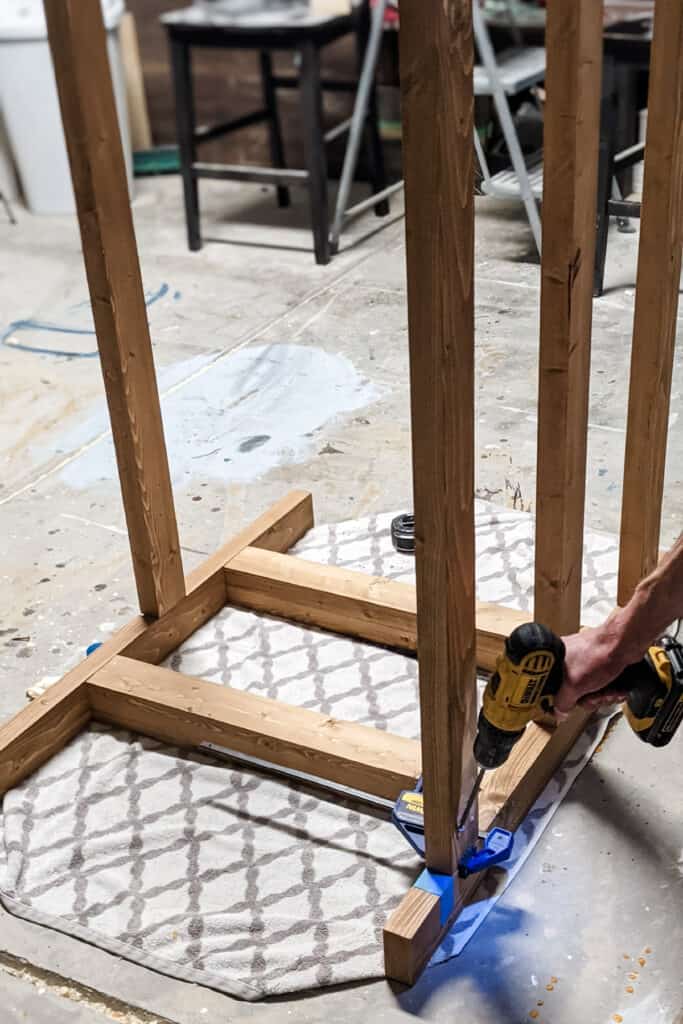
STEP 7: ASSEMBLE LEGS
Now we’ll assemble the legs by attaching a bottom support, top support, and two legs.
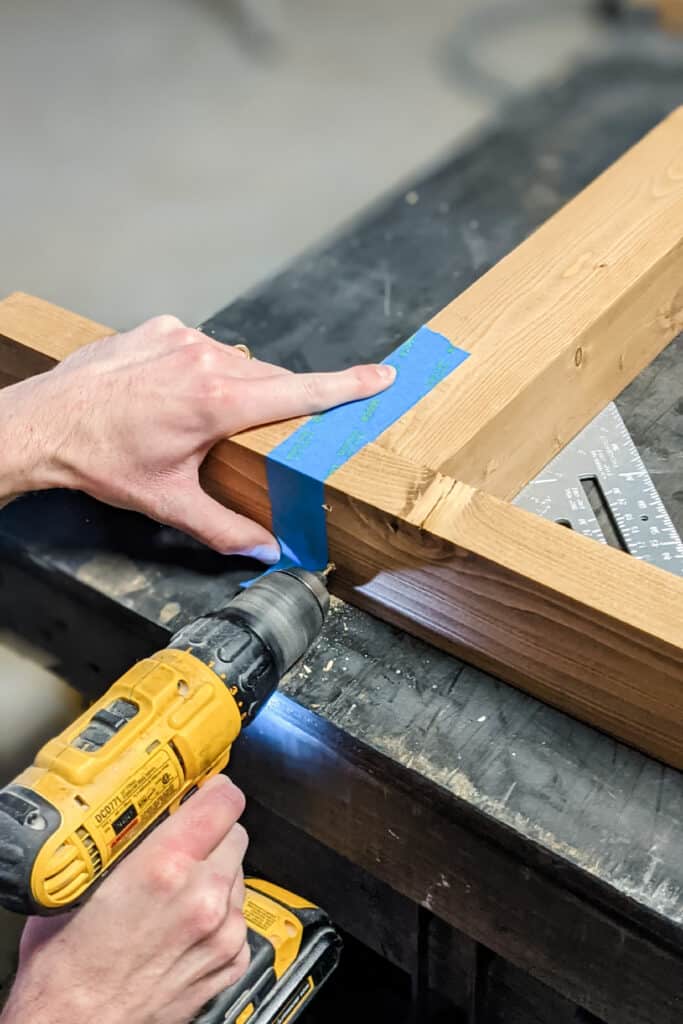
The legs should be placed 8.25″ from the edge of the bottom support. Mark where your legs will go, add a generous amount of wood glue to the bottom of the legs and then position them where you want them.
Pre-drill through the bottom support and into the bottom of the legs. Then, secure the legs to the bottom support with (2) 3″ screws on each leg. Repeat with the top support. The legs should be placed 9 7/8″ from the edges of the top supports.
STEP 8: ASSEMBLE BASE
Now that you have both sets of legs assembled, we need to attach them to one another. Start by drilling two pocket holes into either end of each of the stretchers using the 1.5″ settings.
3 of the stretchers will be installed on top and 1 will be installed on the bottom of the table.
Use glue and 2.5″ Kreg screws to attach the stretchers to the legs. The pocket holes on the top stretchers should be facing up and the pocket holes on the bottom stretcher should be facing down.
Place the top outside stretchers 4.5″ from the edge of the top supports. The middle top and bottom stretchers should be centered their respective support boards.
STEP 9: ADD ANGLED BOARDS
It’s time to add the angled boards. Cut one side of your 4×4 down with a 33-degree angle. Place the angled side until it sits flat on the bottom stretcher and then mark where to cut the other side of your board. It should be close to 30.5″.

Once you cut both of your angled boards, line up the top so that it’s in line with the edge of the middle top stretcher. Use glue and (2) 3″ screws to secure the angled board to the middle stretcher.
Make sure to pre-drill before screwing it in to prevent your wood from splitting.
Once everything is secure on the top, flip your table base over and screw through the bottom stretcher into the bottom of the angled board to secure it.

STEP 10: SEAL
We sealed the bottom using spray Polycrylic because it’s fast-drying and a lot easier to get in all of the nooks and crannies. For the top, we used brush-on Polycrylic and applied 4 coats.
STEP 11: ATTACH TOP TO BASE
To attach the base to the top, we’re going to use Figure 8s. We added a total of 10 (which is probably overkill).
Using the paddle bit or Forstner bit, drill a hole that’s just deep enough for the Figure 8 to sit flush with the top of the stretchers.

Then, screw the figure 8 to the stretcher using the provided screws.
Position the table top onto the base and then secure the top to the base through the figure 8s.
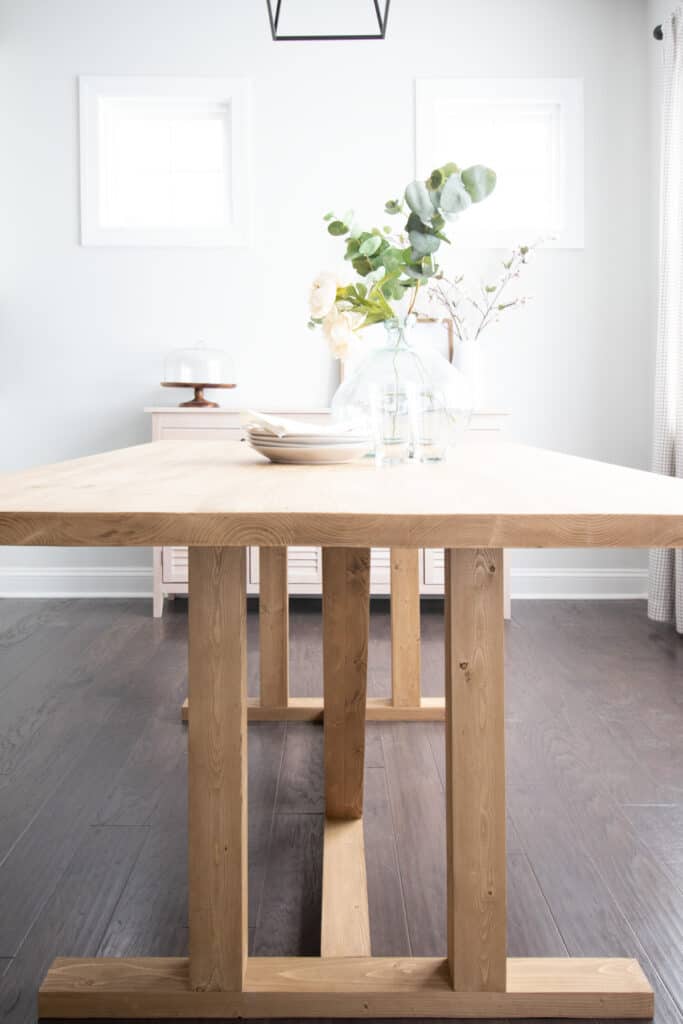
There you have it! Now you know how to make a DIY dining table! It’s not nearly as complicated as it seems it would be, huh? Don’t forget to grab the printable plans!
Still looking for the right DIY dining room table for you? Check out our roundup of the best DIY dining table plans on the internet today!

Want some more designer-inspired DIY ideas? You’re going to love these:


")


Hello! Can you speak to the durability of pine as a dining table material? How will it wear or hold up over the years?
We are planning to build a table but are debating whether it is worth it to upgrade to Oak for the price difference, or if pine will be good enough. Thanks!
Hi Elizabeth! We have a table that we made from pine years ago that has held up really well. It does have a few dents and scratches that have collected over the years, but it still looks good and functions well for us. We’ve even completed a few DIYs on the table, so we definitely haven’t been the most gentle with it. That being said, pine will inevitability dent or scratch over time, so it’s up to you whether you’re okay with that or not!
Wow this looks amazing!
Thanks Sarah! 🙂
This looks very amazing. Is it very sturdy? My wife would love to have this.
Thanks John! Yes, it’s very sturdy! You can make it even sturdier by using 4x4s for the stretchers rather than 2x4s.
You should add table saw to your list of equipment needed. Table looks great. I was going to try and make it until I saw the table saw part.
Table saw is the first tool listed 🙂 However, you can always modify the plans to get a very similar design without a table saw!
I have been looking for a table like this everywhere! It is so cute. We are doing some kitchen cabinet refinishing next week and I would love to finish off the space with this table. Thanks for sharing!!!
I love your table!! What brand of pre stain wood conditioner and polycrylic do you use?
Ah thank you! We use Minwax brand for everything.